
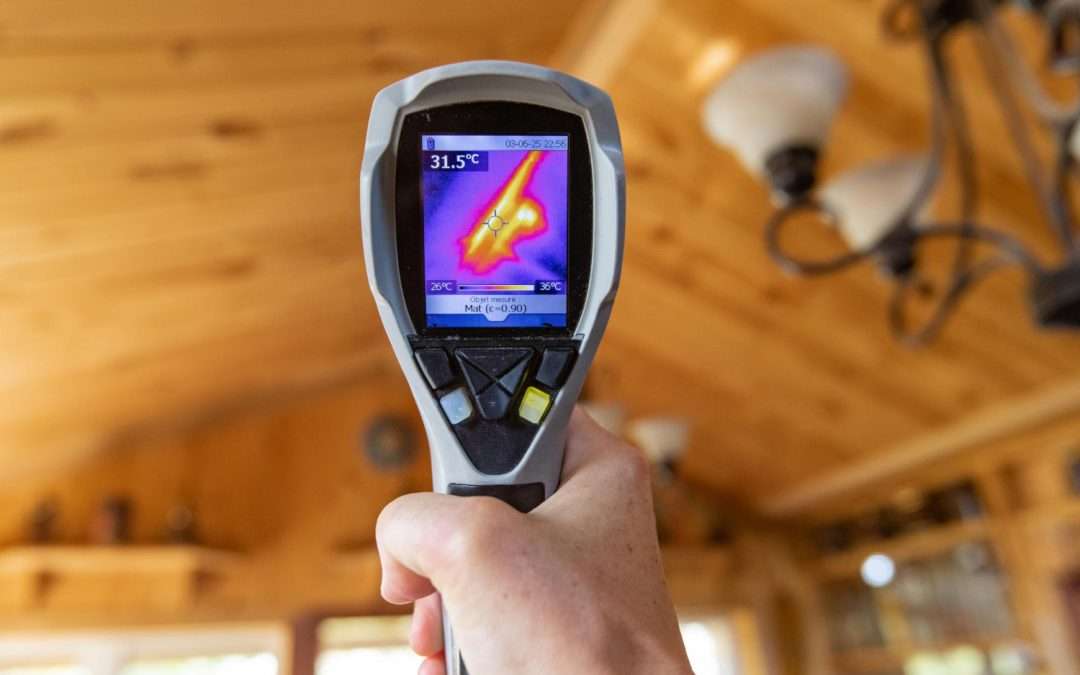
Infrared inspections can feel like a mystery when you’re looking at a report full of red, yellow, and purple heat maps. If you’ve just had one done on your electrical system and you’re staring at those colorful images wondering what they mean, you’re not alone. These inspections are built to catch problems early, but if you don’t know how to read the results, it’s easy to miss the warning signs.
Understanding your inspection results is just as important as getting the inspection itself. These tests can uncover overheating wires, failing breakers, or loose connections before they turn into expensive repairs or fires. It’s all about spotting trouble early and reacting before it gets worse. The more you understand your report, the easier it becomes to make smart decisions that protect your property and the people in it.
What Is Infrared Electrical Inspection?
Infrared electrical inspections use heat-sensitive cameras to scan your electrical panels, wiring, and equipment. These special cameras can detect variations in temperature that the human eye can’t see. When a connection or component is hotter than it should be, it shows up brightly in the thermal images. That heat usually points to a problem like too much resistance, worn parts, or breakers under too much load.
These inspections are non-invasive, which means there’s no need to shut off power or open up walls. Trained technicians scan the important parts of your system from a safe distance and collect images over time. This makes it a smart way to track issues without interrupting your daily life or business operations.
There are good reasons why infrared electrical inspections have become a common tool for building maintenance:
– They show hidden problems before failure occurs
– They reduce the risk of fire by catching heat buildup early
– They help you plan repairs instead of reacting to emergency breakdowns
– They save time during routine electrical checks
For example, in a building where the lights flickered every time the microwave and coffee maker were on together, an infrared scan showed a loose neutral wire that had gone unnoticed for years. That small discovery likely prevented a much bigger issue down the line.
This kind of testing is especially useful in systems that are older, overloaded, or have undergone recent changes. If your space has added new equipment or outlets, an inspection can confirm everything is running safely and help spot signs of wear or imbalance early on.
Common Findings During Infrared Inspections
When you get your infrared report, you’re likely to see a few problem areas flagged with heat maps and color ranges. These typically fall into a few familiar categories. Knowing what the colors and patterns mean can help you work with your electrician to fix small issues before they grow.
Here are the most common things that show up during an inspection:
1. Overheating Connections
This shows up on the scan as a bright hot spot. It usually means a wire or terminal is loose or corroded, causing electricity to work harder to get through. That added resistance creates dangerous heat.
2. Imbalanced Loads
Electrical panels are designed to spread power evenly across circuits. Infrared scans can make it clear when one side of a panel is carrying too much load compared to the other. This imbalance can cause equipment failures or breaker trips.
3. Failing or Underrated Components
Older or worn-out breakers and fuses can heat up as they struggle to handle electrical flow. Parts that are no longer working correctly will often show a unique heat signature, helping electricians find failing parts before they completely break.
4. Hot Spots in Shared Circuits
In shared buildings or larger homes, certain outlets and switches can be wired together. If one area sees a spike in use, like plugging in multiple space heaters, heat can build up in hidden parts of the wiring and show up clearly on an infrared scan.
5. Deteriorating Insulation or Wiring
Insulation around older wires can crack or thin, and degraded wires can start to overheat under normal use. These issues rarely show up during a standard visual inspection but will often glow brighter under thermal imaging.
Next time you see a thermal image with a glowing red square or yellow burst, you’ll know it’s not just a cool graphic. It’s a clear warning that attention is needed, and early action can keep things safe and running as they should.
Interpreting Your Infrared Inspection Report
Once your inspection is done, the technician will give you a report that includes several thermal images and notes. At first glance, this document might look like an odd mix of rainbow-colored photos and technical terms. But learning to read each section helps you make smart choices about what to do next.
Thermal images are the most visible part of the report. Warm areas on the image appear in shades of red, yellow, or white, while cooler spots show up in darker colors like blue or purple. A bright yellow or white glow in a place where the system should run cool usually means something is overheating. It’s your first visual clue that something needs attention.
Alongside the pictures, you’ll likely see notes or labels such as:
– Hot spot near breaker 3
– Loose connection suspected
– Unbalanced load warning
Each of these points tells you where the problem is and what might be causing the heat buildup. Some reports also include temperature readings. A higher-than-normal temperature on a connection isn’t just a number—it can signal resistance in the line, possibly from a failing part or loose terminal.
There might be a summary section too. This is often where the inspector groups areas by severity. For example:
– Immediate attention required: Unsafe heat buildup or components at high risk of failure
– Monitor: Slightly elevated heat that should be re-checked soon
– No action needed: Temperatures within normal range
If you’re unsure about a term or what a certain label means, don’t hesitate to ask your inspector for clarification. The goal is to give you a clear view of what’s going on behind the scenes, even if everything looks fine from the outside.
Next Steps After Receiving Your Results
Once you’ve reviewed your report, the next move is figuring out how and when to act. Some issues will need repair right away, while others may just need monitoring or a follow-up check later.
Here’s a quick breakdown of what to do next, based on what the report shows:
1. Address Immediate Risks
If any part of your system shows excessive heat or obvious signs of trouble, schedule service right away. Damaged or degraded parts can lead to more serious damage, or worse, fire risks.
2. Document and Schedule Repairs
Even if a problem doesn’t require urgent attention, log it down and set a timeline. For example, a warm breaker that’s reaching the upper safe temperature range should be checked again in a month or two after adjusting nearby load levels.
3. Make System Upgrades If Advised
If your inspection reveals constant load issues, your system may need expansion. This is especially true for homes or commercial spaces that are adding more appliances or equipment on existing circuits.
4. Set Up Routine Maintenance Checks
One inspection is helpful, but consistent checks give you a better picture over time. An annual thermal scan can catch slow-developing problems early and confirm that past repairs are holding steady.
5. Keep a Record of Past Inspections
Hold onto your thermal reports. These are useful for tracking electrical health over the years. They also come in handy during property sales or when reviewing previous service calls.
As an example, one homeowner found a faint hot spot in their attic wiring during a first scan. The technician noted it didn’t pose an immediate threat but should be watched. On a follow-up check six months later, the same area showed a higher temp, pointing to a failing connection. Catching it early avoided major repair costs.
Following up after an infrared inspection keeps things running smoothly. Skipping the next steps or ignoring the signs can leave hidden issues growing over time without warning.
What Thermal Reports Really Tell You
Knowing what to look for in an infrared inspection report gives you the upper hand. Instead of reacting with surprise when something fails, you’re working with awareness and control. Spotting a loose connection or unbalanced load before it causes shutoffs or equipment failure is a win every time.
Getting comfortable reading these reports also builds trust in the overall process. These aren’t just colorful camera shots—they’re a mapped-out story of what’s heating up and why. And with repeated scans, you can actually track improvement if you’ve made changes or done repairs.
Keeping your home or commercial space safe doesn’t happen by accident. It requires regular attention, a watchful eye, and the right tools. Thermal imaging is one of the best ways to spot early signs of wear before they become a bigger problem. Read your report carefully, ask questions, and always follow up on flagged areas. Small steps now keep your systems safe, reliable, and working the way they should.
For a deeper understanding of how these inspections can benefit your property, learn more about infrared electrical inspections. Inlight Electric LLC has the expertise to interpret results and recommend the right steps to keep your home or business safe. Stay proactive, catch signs early, and reduce risk with regular electrical checkups.